Spring Front Yard Flower Bed Refresh: Our Step-by-Step Guide
Learn how we refresh front yard flower beds each spring with cleanup, soil prep, mulch, and smart replanting to make existing beds look brand new.
We recently got a voicemail from a longtime customer — we’ll call him Daniel — who wanted to freshen up the front flower bed at his home. He said, “Basically just a cleanup and some mulch and maybe some plants and flowers. You all have done work for me pretty much every summer.” That kind of call is exactly what spring feels like for us: familiar faces, tired flower beds, and a chance to make the front yard pop again.
Why Spring Is the Perfect Time to Refresh Your Flower Beds
When Daniel called, his front bed wasn’t a total disaster. The bones were there — the edging, the basic layout — but winter had left leaves, tired mulch, and a few plants that just didn’t bounce back. That’s what we see in most yards each spring.
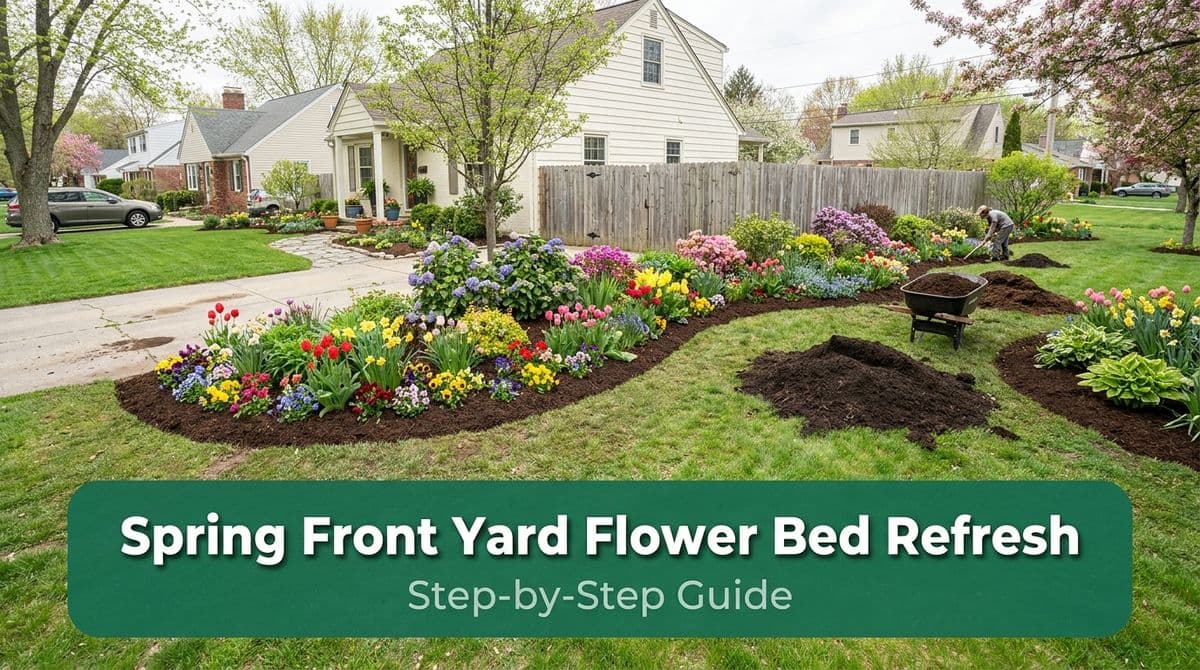
Spring is ideal for a refresh because the soil is soft, temperatures are mild, and plants can establish roots before summer heat hits. With a good cleanup, fresh mulch, and a few new plants, you can make an existing bed look almost brand new without a full redesign.
Step 1: Clean Up the Existing Bed Thoroughly
The first thing we told Daniel is that a great flower bed refresh starts with a really good cleanup. This is the part most folks want to rush through, but it makes all the difference.
Remove Debris, Weeds, and Old Plants
Here’s how we typically tackle it in a front yard bed:
- Clear leaves and sticks: Gently rake out leaves, twigs, and trash without tearing up existing plants you want to keep.
- Pull weeds by the root: We always use a hand tool to get the roots out so they don’t just pop back through your fresh mulch.
- Cut back dead growth: Trim perennials down to healthy green growth and remove any plants that clearly didn’t survive the winter.
- Define the bed edges: We re-cut a crisp edge with a flat shovel to separate grass from the bed. This makes a huge visual difference.
For Daniel, we saved the shrubs and a few hardy perennials, but removed some leggy annuals that were never coming back. That gave us a clean slate to work with.
Step 2: Prep and Improve the Soil
Once everything is cleared out, we focus on the soil. New plants only do as well as the dirt they’re growing in, and front yard beds often get compacted from foot traffic and old mulch.
Loosen and Enrich the Top Layer
Here’s what we walked Daniel through for his bed and what we recommend for most homeowners:
- Loosen the top 2–4 inches of soil with a hand cultivator or small tiller, being careful around existing plant roots.
- Mix in compost or a quality garden soil to improve drainage and add nutrients, especially if the soil is heavy clay or very sandy.
- Level the surface so there are no low spots where water will stand and rot roots.
We usually explain to customers that this step doesn’t have to be perfect, but even a bit of loosening and compost goes a long way toward healthier plants and better blooms.
Step 3: Choose the Right Plants for Your Front Yard
Daniel wanted “some plants and flowers” but wasn’t sure what would actually work in his front bed. That’s where the right questions matter: how much sun the area gets, how much maintenance you want, and what style you like.
Think Sun, Size, and Season
When we help pick plants for a refresh, we look at:
- Sun exposure: Full sun beds (6+ hours) need sun-loving plants; shady porches need shade-tolerant varieties. Mixing the wrong ones is a common mistake.
- Mature size: We always plan for how big plants will be in a couple of years, so they don’t crowd your walkway or cover windows.
- Seasonal interest: Combining evergreens, perennials, and seasonal color keeps the bed from looking empty in the off-season.
For a typical front bed refresh like Daniel’s, we might keep existing shrubs for structure, add a few low-maintenance perennials for reliable color, and then mix in annuals along the front edge for that bright, seasonal pop.
Step 4: Mulch the Right Way (Not Just the Fast Way)
Daniel specifically asked for “some mulch,” and that’s what most customers mention first. Fresh mulch does a lot more than just look good — it helps retain moisture, keeps down weeds, and protects plant roots as temperatures change.
How Much Mulch and How to Apply It
Here’s how we typically handle mulch on a flower bed refresh:
- Choose the type: Shredded hardwood, dyed mulch, or natural brown — we always match it to the home’s style and the homeowner’s preference.
- Apply 2–3 inches deep: Too thin and weeds break through; too thick and roots can suffocate. We aim for that 2–3 inch sweet spot.
- Keep it off trunks and stems: We pull mulch a few inches back from the base of shrubs and flowers to avoid rot and pests.
For Daniel’s front bed, we refreshed the existing mulch with a new 2-inch layer, which instantly made everything look clean and finished.
Common Mistakes We See in Spring Bed Refreshes
Over the years, we’ve noticed a few patterns when homeowners DIY this project. Avoiding these mistakes can save a lot of frustration:
- Skipping the cleanup: Throwing mulch over leaves and weeds just hides problems for a few weeks. They always come back through.
- Planting too close together: New plants look small, so it’s tempting to cram them in. We always space based on mature size, not the size in the pot.
- Mulch volcanoes: Piling mulch high around plant stems or tree trunks traps moisture and invites pests. A flat, even layer is best.
- Ignoring sun and water needs: Mixing shade plants with sun lovers in the same spot usually means one group will struggle.
A Simple Spring Checklist for Your Front Flower Beds
When we put together Daniel’s estimate, we walked through the same basic checklist we use for most spring refreshes:
- Clear out all leaves, sticks, weeds, and dead plants
- Cut back perennials and lightly prune shrubs (where appropriate)
- Re-edge the bed line for a clean, defined border
- Loosen soil and add compost where needed
- Plan plant placement by height and sun needs
- Install new plants and water them in well
- Apply 2–3 inches of mulch, keeping it away from stems and trunks
Whether we’re doing the work for a customer or they’re tackling it themselves, following that order keeps the project organized and the results consistent.
Need Help Refreshing Your Own Front Yard Beds?
Calls like Daniel’s are common for us each spring: an existing flower bed that just needs a good cleanup, fresh mulch, and a few new plants to feel welcoming again. With a little planning and the right steps, you can absolutely transform your front yard without starting from scratch.
If you’d rather have a crew handle the heavy lifting — from cleanup and soil prep to plant selection and mulching — our team is always happy to help design and install a spring refresh that fits your home and your budget.